Ultimate 30-Day Coffee Bean Storage Guide: Keep Your Fresh Coffee Beans Perfect

Coffee enthusiasts know that properly stored coffee beans are the foundation of a perfect cup of coffee. Whether you’re a home barista or simply someone who appreciates quality coffee, understanding how to store fresh coffee beans can make the difference between a mediocre and an exceptional brewing experience. This comprehensive guide will walk you through everything you need to know about coffee bean storage to maintain optimal freshness for up to 30 days.
Why Proper Coffee Bean Storage Matters
Fresh coffee beans are living products that continue to undergo chemical changes after roasting. Exposure to oxygen, moisture, light, and heat can significantly impact their flavor profile and overall quality. When stored correctly, coffee beans can maintain their complex flavors, aromatic compounds, and essential oils that contribute to that perfect cup of coffee you crave.
4 Enemies of Fresh Coffee Beans

1. Air Exposure
Oxygen is perhaps the biggest threat to your coffee beans’ freshness. When coffee beans come into contact with air, they undergo oxidation, which breaks down the compounds responsible for their unique flavors and aromas. This process, known as degassing, can quickly turn fresh coffee beans stale if not properly managed.
2. Moisture
Coffee beans are hygroscopic, meaning they readily absorb moisture from their environment. Exposure to humidity can lead to:
– Premature degradation of flavors
– Development of mold and bacteria
– Loss of essential oils
– Compromised brewing consistency
3. Light Exposure
Direct sunlight and strong artificial light can break down the chemical compounds in your coffee beans, leading to:
– Accelerated staleness
– Loss of flavor complexity
– Degradation of aromatic compounds
– Inconsistent taste profiles
4. Temperature Fluctuations
Stable temperature is crucial for maintaining fresh coffee beans. Temperature changes can cause:
– Condensation inside storage containers
– Accelerated degassing
– Loss of flavor intensity
– Reduced shelf life
Best Containers for Coffee Bean Storage

Selecting the right storage container is crucial for maintaining fresh coffee beans. Here are the top options:
Airtight Containers
Invest in containers specifically designed for coffee storage that feature:
– One-way degassing valves
– Airtight seals
– UV-protective materials
– Durable construction
Ceramic Containers
Ceramic containers offer several benefits:
– Natural temperature regulation
– Light protection
– Aesthetic appeal
– Moisture resistance
Glass Containers
While glass containers can be suitable, they must be:
– Amber or opaque colored
– Equipped with airtight seals
– Stored in a dark place
– Properly sized for your needs
The Perfect Environment for Coffee Bean Storage
Temperature Control
Maintain your coffee beans in an environment with:
– Consistent temperature between 68-77°F (20-25°C)
– No exposure to heat sources
– Protection from temperature fluctuations
– Regular monitoring
Humidity Management
Keep your coffee beans in conditions with:
– Relative humidity between 55-65%
– Good ventilation
– No exposure to water or steam
– Distance from kitchen moisture sources
Location Selection
Choose a storage location that offers:
– Protection from direct sunlight
– Distance from appliances
– Easy access for daily use
– Consistent environmental conditions
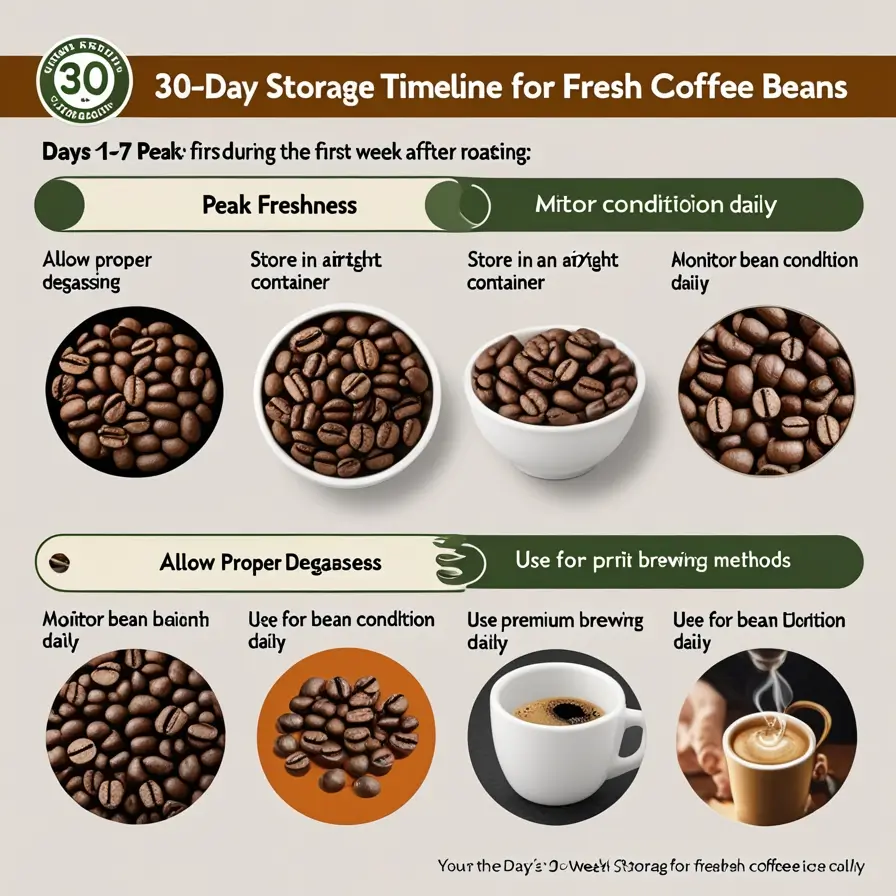
30-Day Storage Timeline for Fresh Coffee Beans

Days 1-7: Peak Freshness
During the first week after roasting:
– Allow proper degassing
– Store in an airtight container
– Monitor bean condition daily
– Use for premium brewing methods

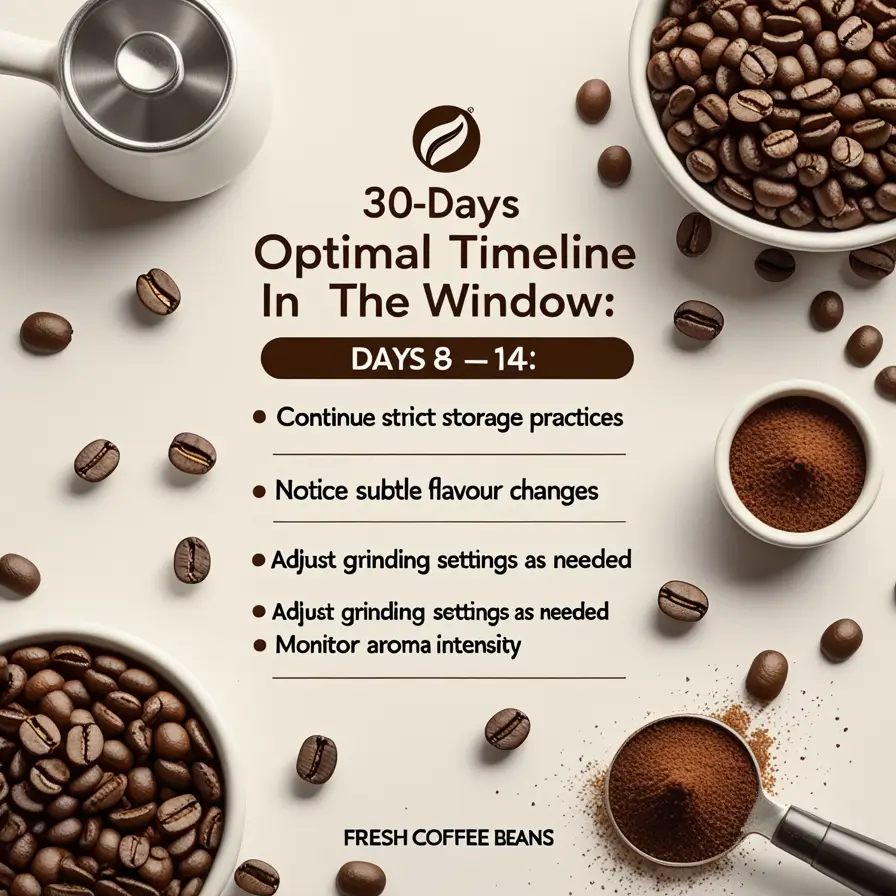
Days 8-14: Optimal Flavor Window
In the second week:
– Continue strict storage practices
– Notice subtle flavor changes
– Adjust grinding settings as needed
– Monitor aroma intensity

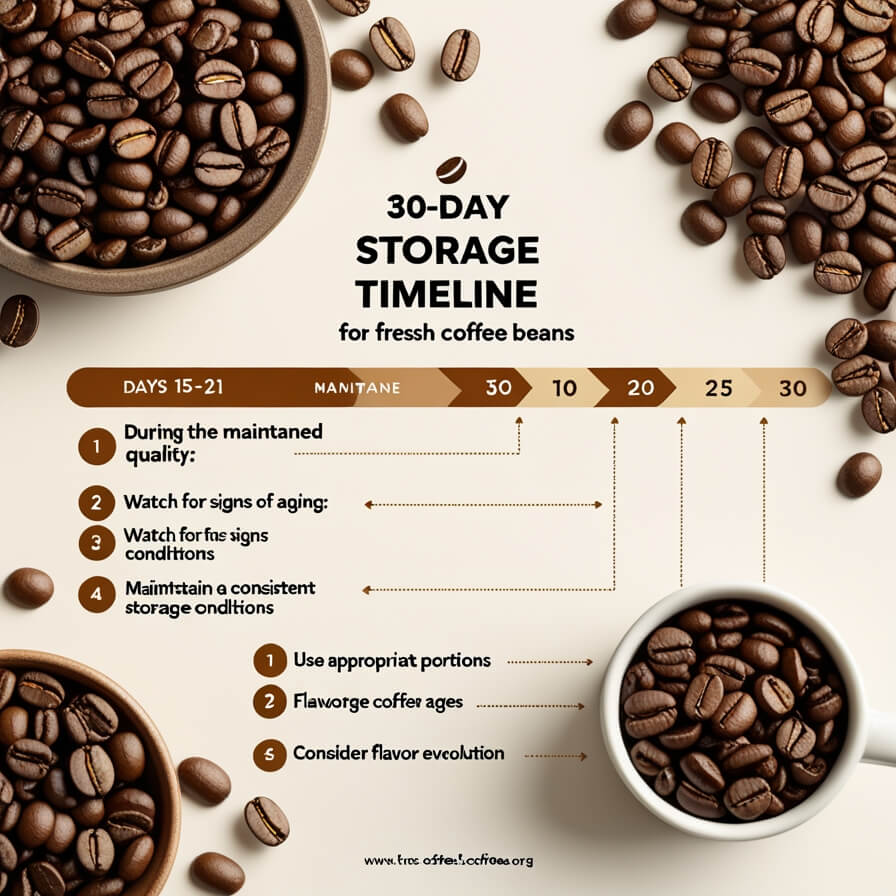
Days 15-21: Maintained Quality
During the third week:
– Watch for signs of aging
– Maintain consistent storage conditions
– Use appropriate portions
– Consider flavor evolution
Days 22-30: Extended Freshness
In the final week:
– Pay attention to flavor changes
– Adjust brewing parameters
– Use remaining beans thoughtfully
– Plan for next purchase
Professional Tips for Long-term Coffee Bean Storage
Portion Control
To maintain optimal freshness:
– Buy appropriate quantities
– Divide beans into smaller portions
– Minimize container opening frequency
– Track usage patterns
Vacuum Sealing
Consider vacuum sealing for extended storage:
– Remove all air possible
– Use high-quality sealing bags
– Label with date and variety
– Store sealed bags properly
Freezing Guidelines
If freezing is necessary:
– Use airtight containers
– Avoid repeated freezing/thawing
– Portion into single-use amounts
– Allow proper thawing time
Common Coffee Bean Storage Mistakes to Avoid
Refrigeration Errors
Never store coffee beans in the refrigerator because:
– Moisture levels are too high
– Temperature fluctuations occur frequently
– Food odors can be absorbed
– Condensation forms easily
Bulk Buying Mistakes
Avoid these common bulk purchasing errors:
– Buying more than a month’s supply
– Storing large quantities together
– Not planning for usage rates
– Ignoring storage capacity
Container Misuse
Prevent these storage container mistakes:
– Using containers without proper seals
– Overfilling containers
– Mixing old and new beans
– Neglecting container cleaning
Signs Your Coffee Beans Are Properly Stored
Visual Indicators
Look for these positive signs:
– Consistent color
– Visible oil content
– No condensation
– Regular appearance
Aroma Assessment
Properly stored beans should have:
– Strong, pleasant smell
– No musty odors
– Characteristic varietal notes
– Consistent fragrance
Taste Evaluation
Well-stored beans produce coffee with:
– Full flavor profile
– Proper extraction
– Expected strength
– Consistent quality
Troubleshooting Coffee Bean Storage Issues
Identifying Problems
Watch for these warning signs:
– Faded aromas
– Dull appearance
– Inconsistent brewing results
– Changed flavor profiles
Solutions and Adjustments
Address storage issues by:
– Evaluating storage conditions
– Upgrading containers if needed
– Adjusting environmental factors
– Implementing better practices
Advanced Coffee Bean Storage Techniques
Multiple Container System
Implement a rotating storage system:
– Use smaller daily containers
– Maintain a sealed backup supply
– Rotate beans properly
– Track freshness dates
Environmental Monitoring
Consider using:
– Humidity meters
– Temperature monitors
– Light exposure controls
– Storage condition logs
Quality Control Measures
Maintain freshness through:
– Regular container inspection
– Cleaning and maintenance
– Storage condition adjustments
– Consumption rate tracking
Seasonal Considerations for Coffee Bean Storage
Summer Storage
During warmer months:
– Increase temperature control
– Monitor humidity closely
– Adjust storage location
– Check more frequently
Winter Storage
In colder seasons:
– Prevent condensation
– Maintain stable temperature
– Protect from heating systems
– Monitor humidity changes
Storage Recommendations for Different Coffee Types
Light Roast Beans
Store light roasts with attention to:
– Degassing requirements
– Temperature sensitivity
– Flavor preservation
– Optimal freshness window
Medium Roast Beans
Focus on maintaining:
– Balanced conditions
– Consistent environment
– Proper container selection
– Regular monitoring
Dark Roast Beans
Pay special attention to:
– Oil content management
– Aroma preservation
– Storage duration
– Container cleanliness
The Future of Coffee Bean Storage
Emerging Technologies
Stay informed about:
– Smart storage containers
– Environmental monitoring systems
– Preservation innovations
– Storage Analytics
Sustainable Practices
Consider implementing:
– Eco-friendly containers
– Reduced waste methods
– Energy-efficient storage
– Responsible consumption
Conclusion: Mastering Coffee Bean Storage
Proper coffee bean storage is essential for anyone serious about their coffee quality. Following these guidelines, you can maintain fresh coffee beans for up to 30 days while preserving their optimal flavor, aroma, and brewing potential. Remember that consistent attention to storage conditions and regularly monitoring your beans’ quality will reward you with exceptional coffee experiences.
Whether you’re a casual coffee drinker or a dedicated enthusiast, implementing these storage practices will help you get the most out of your coffee beans. Start with the basics, experiment with different storage methods, and adapt these guidelines to your specific needs and environment. With proper care and attention, you can ensure that every cup of coffee you brew showcases the best qualities of your carefully stored beans.
Remember to regularly evaluate your coffee bean storage practices and make adjustments as needed. The effort you put into proper storage will be rewarded with consistently excellent coffee that maintains its fresh, vibrant qualities throughout the 30 days.


